Editing an image in three ways
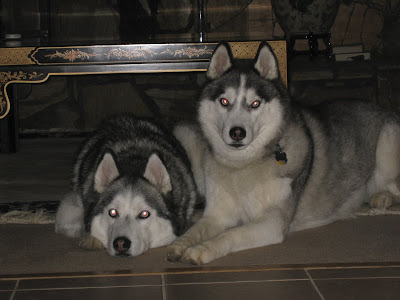
Original Photo of our Siberian Huskies

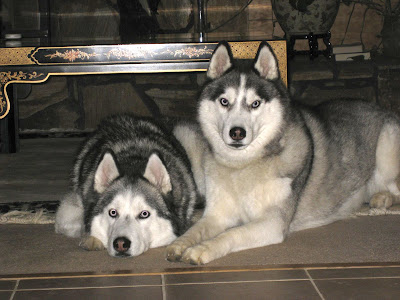
Red eye removed using adobe and moving image to photoshop. Using the Adobe photoshop CS3 book for digital photographers by Scott Kelby, pg 272-3, press Z to get zoom and frame red eye area. Then go to red eye tool placing curser over eye and click red eye away. The zoom feature helps to prevent errors on the iris making the eye easier to work on.
Dog tag removal using Katrina Eismann book, The Creative Digital Darkroom pg 362. One must add a new layer making sure to activate the current and below icon to ensure photoshop samples all visible layers in order to clone only the active layer. Then clicking the clone stamp tool, clone and drag over the item to remove. Use eraser tool to clean up the area.

To get black and white image, I used Scott Kelby's book, pg 234. In the Image menu I chose lab color mode then clicked on the channels panel to go to the lightness channel and make it active. Then I chose Grayscale under the Image menu to get the B&W image. Then if the photo is too dark or too light one can go to the layer panel and duplicate the background layer by pressing Command J and change the layer mode to multiply or screen to crate the desired tone by changing opacity.


No comments:
Post a Comment