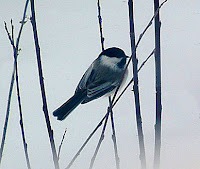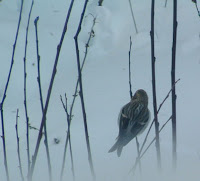

The first image is the original. The second is the enhanced and mended. I enlarged the photo first to the size I wanted it to be. I wanted to really see the bird up close and the detail in the feathers as well as the coloring while getting rid of "things" that were distracting.
Making sure the setting was at 100%, I cropped the section of the photo I wanted to save and enlarged it to fit the screen (200%). Using the Eye dropper at the side menu I left clicked on the part of the subject's color I wanted to use for the foreground then went to Image, Adjustments then Auto Color.
In the menu at the top of the page under Layer go to New then give it a simple name like "mend." At the top of the page is a listing that says Select All Layers, check the box.
The menu on the left choose the Lasso tool and draw a line around the section to be changed. This will leave a pulsating broken line. Choose the Clone Stamp tool on the menu at the left then press the Alt key and left click the mouse on the section of the photo that you want to use to cover up. Then holding down the left key on the mouse pad carefully go over the section that you want covered. You can undo and redo if necessary. You can use Paint Brush tool as well but will need to choose the right size brush for the job which is at the top left.
When you are satisfied with your work go to Save As under File and give your new photo a new name and save on your cd or program.


I applied the same steps on this photo and if you could see what I have seen of the color of the wings and the clarity you could see it is well worth more time spent, which I intend to do, using more tools.
No comments:
Post a Comment