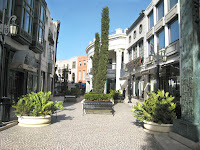
Here is my workflow with few corrections:
1. Make a copy of the background
2. From New Adjustment Layer I choose Levels with default settings
3. Channel RGB, Input Levels 0, 1,47, 182 and Output Levels 0, 255
4. Black brush with smooth edges, size 170 px, mode normal and opacity low (10%)
Here is the result.

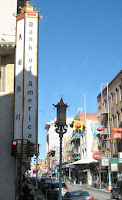
This second picture was taken in San Francisco and it has the same problem, it is under exposed. I used the same workflow with some modifications.

1. Make a copy of the background
2. From New Adjustment Layer I choose Levels with default settings
3. Channel RGB, Input Levels 0, 1,66, 232 and Output Levels 0, 255
4. Black brush with smooth edges, size 170 px, mode normal, opacity low (10%)
5. Cropped the picture
6. Healing brush, Diameter 17x, mode replace
And here is the result.

I like this workflow, because I can use this with both under and over exposed photographs. If the photograph is over exposed I just need to adjust the levels other way round.
No comments:
Post a Comment