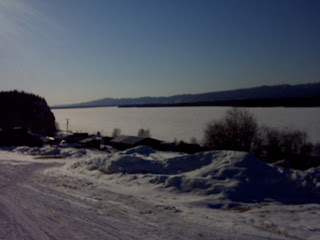
Photo #1
This is my original photo!
Here is my edited photo!
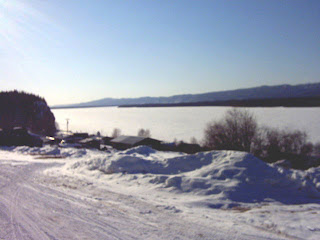
How i did my work flow
1.) I went to create new fill or adjustment layer and chose Brightness/Contrast after creating a adjustment layer.
2.) I set the brightness up to +70 and i set the contrast to +29.
3.) I have created another adjustment layer and set the Input Levels -0.95-253 and the output
levels at 0 - 253 on the RGB Channel.
4.) I have set the curves on another adjustment layer set at Input -111 and output 123.
5.) My edited photo now looks brighter and has more detail and looks better compared to my original photo.
Photo #2
My Original Photo
My edited photo

How I edited my dog photo!

Here is my edited photo!

How i did my work flow
1.) I went to create new fill or adjustment layer and chose Brightness/Contrast after creating a adjustment layer.
2.) I set the brightness up to +70 and i set the contrast to +29.
3.) I have created another adjustment layer and set the Input Levels -0.95-253 and the output
levels at 0 - 253 on the RGB Channel.
4.) I have set the curves on another adjustment layer set at Input -111 and output 123.
5.) My edited photo now looks brighter and has more detail and looks better compared to my original photo.
Photo #2
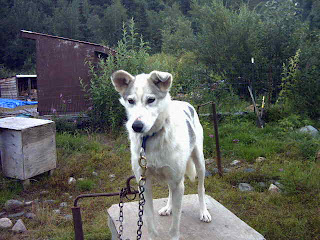
My Original Photo

My edited photo

How I edited my dog photo!
1.) I went to Image-Adjustments-Curves and set the Input at 121 and the Output at 95.
2.) I set the color balance levels at
Midtone - cyan-red- +33
magneta-green-+13
yellow-blue- +10
Highlights- cyan red- +32
magneta-green- -16
yellow-blue- +10
3.) I created a adjustment layer and set the brightness at +9 and the contrast at -4.
4.) I used the magnetic lasso tool and selected the dog and made him not so contrast by going to
Layers- Mode - Multiply and i have closed the dialog box.
5.) I added more color in the background and the contrast on the dog is not so bright and has more color and detail compared to my original photo.
No comments:
Post a Comment