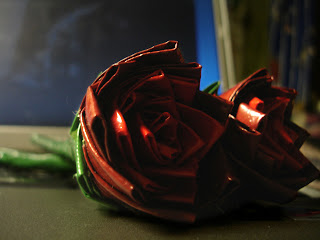
Then here is my first edit... I selected the roses and then lightened them. Thus bringing out the detail while leaving the background dark and unfocused. simple yet effective.

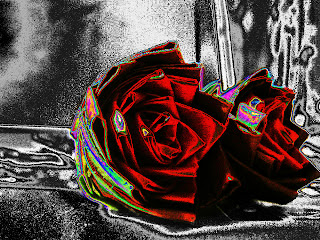
Second, this is where I had a little fun with the curves command box inside an adjustment layer....i also used an adjustment layer to convert the background to B&W.

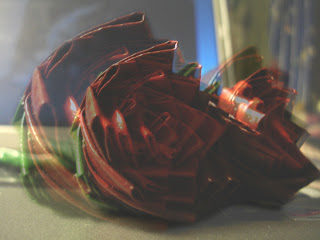
Finally, for the third iteration of Rozez, I copied the roses onto a new layer then using the free transform command made it a little big bigger then lowered the opacity to about 45%. The main picture I went into the levels command box, and then lightened it till it was a pale picture.. perfect for a background!

No comments:
Post a Comment